Showing posts with label home decor. Show all posts

Saturday, April 19, 2014

New-to-Us Kitchen Stools

So excited about these stools, friends!  Last Saturday, the hubs and I spent an adult day away from our kiddos in Portland visiting my sister and brother-in-law.  The guys got to go golfing while my sister and I got to spend some time shopping... and shopping we ladies did!  We hit up nearly a dozen stores in a span of five or six hours, one of which was a Goodwill my sister suggested we stop by.  This particular Goodwill has been known to have pretty decent furniture in the past... and this time, these two beauties were there.

I have been eyeing this style of stool for awhile now, but didn't want to pay the price for two of them. Plus, our kitchen island wasn't really set up for stools because I never really thought I wanted that style of island.  But after seeing the boys sitting at them off and on this week, I am sold.

Although these stools look worn and have the aged-schoolhouse shop-kind-of-stool look, they were both brand-new with the original price tags still affixed to the top of each stool.   Kind of exciting to bring these babies home for less than half the cost of just one brand new (or even more savings, depending on which store you find them at).  I think we'll use them and our island to color Easter eggs today.  Happy Easter weekend!

Friday, March 28, 2014

Hello, World.

This world map will eventually be going up in Kingston's bedroom, when I re-vamp it within the next month or so.  I have been a big sucker for the map trend used in home decor, so I was pretty excited when I scored this big (and I mean BIG) classroom World + United States map for FREE.

We've decided to hold off on the bunk beds until the boys are ready to share a room, so my decorating plans have shifted gears a little.  But, it will still be fun to re-organize and re-do their rooms in a different way.  I'm still in design mode, but will definitely share what I come up with.    

Friday, February 28, 2014

Around our Home.


  • A rearranged living room with our sectional separated for more living space.
  • Medium turquoise mixing bowl + sugar cookie dough.
  • Glass and linen napkins in our hutch, an antique ice box acting as a side table next to our sectional.
  • Spring decor pulled out of storage (Spring starts March 20th!).
  • Sugar cookies cooling, complete with sprinkles.
  • Our kitty cat Jack, resting on our family room sofa.
  • A photo of the hubs's dad's little league team - the hubs's grandpa is also in the pic; he was the coach.  This will be featured in a larger size in Kingston's bedroom soon.

What an odd week this was.  I've been around our home more than usual due to sickness, so I had to make the best of it.  With lots of Pinterest-ing under my belt these past few days, I have more ideas than ever for this little home of ours.  Yesterday afternoon I was pretty much back to normal, which helped spur the furniture rearranging project... at least downstairs.  

And I am starting to be pretty pumped to transition our little from crib to bed here soon and pick out a set of bunk beds for Kingston's room.  I think I may have found the matching quilt to Kingston's for Cole... for when the boys share a room -- so excited!  Kingston's quilt was purchased from Pottery Barn a few years ago and has since been discontinued... so trying to match it has been a little bit of a chore.  Thanks to eBay, I think my problem may soon be resolved (more to come on this later).    

As much as a I love our home, I am happy to say the boys and I will be able to get out of it for a little bit today and maybe tomorrow - Kingston is requesting a trip to the library and park today, the hubs has softball tomorrow.  Enjoy the weekend, friends!

Wednesday, February 5, 2014

{DIY} Valentine's Heart Garland

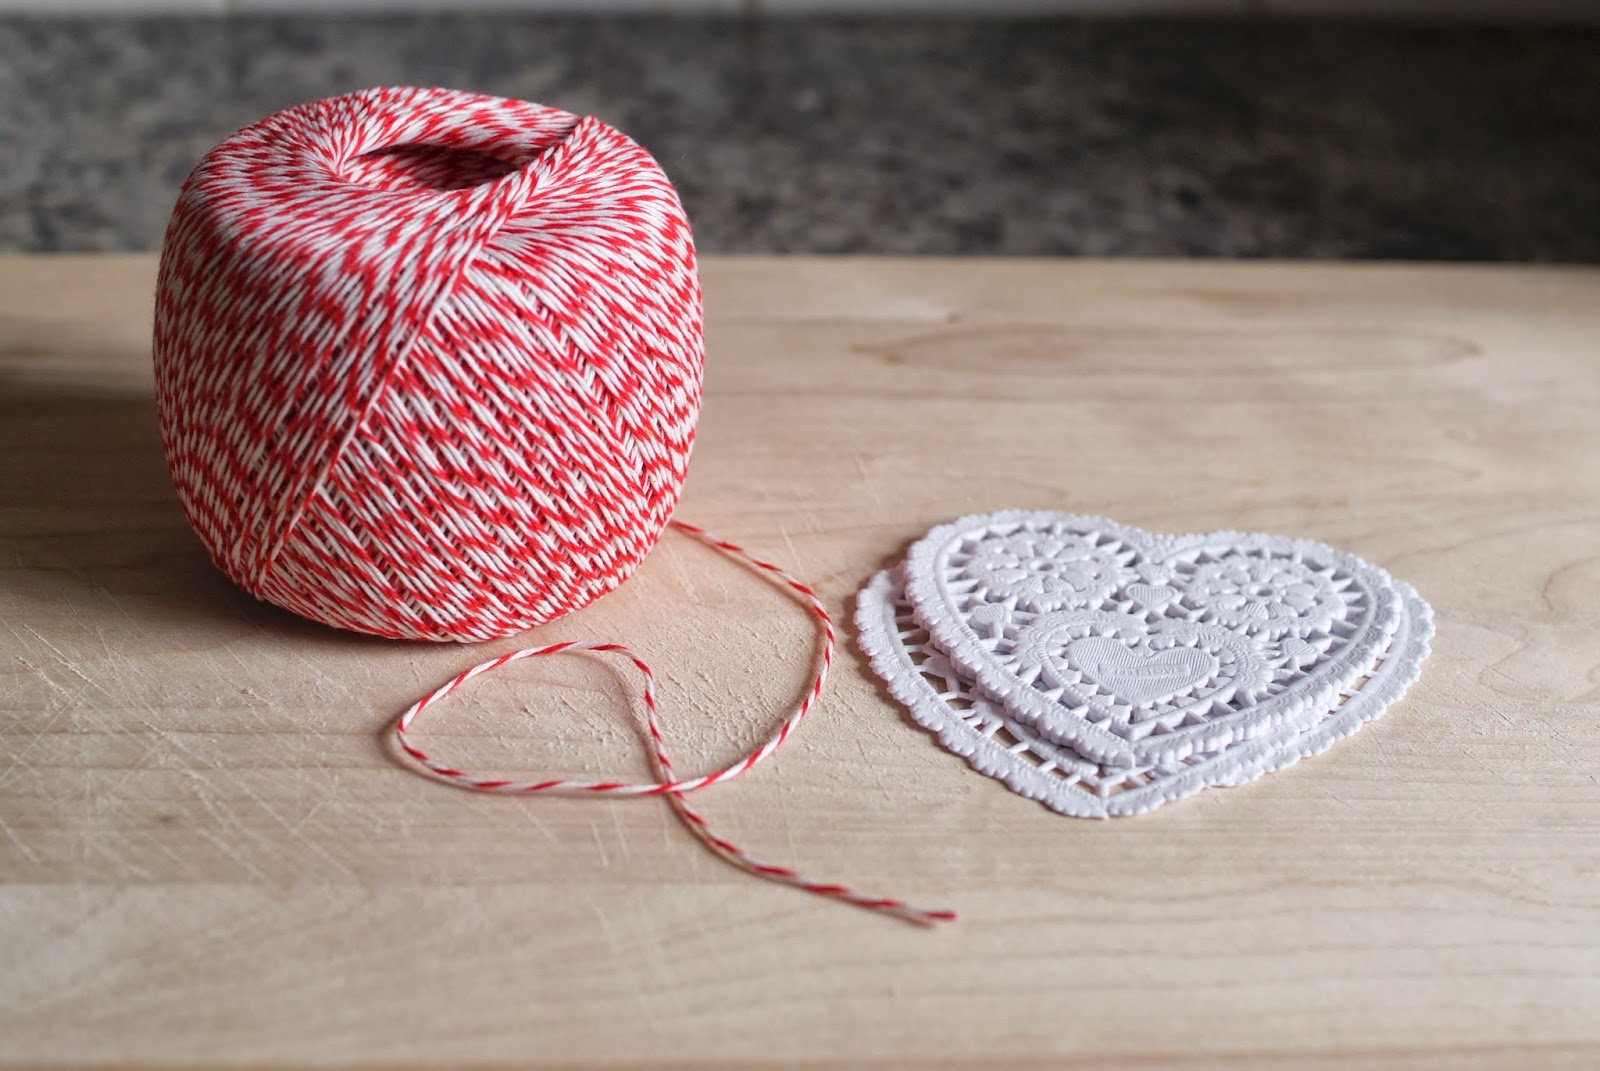
With it being February now, I felt it was time to decorate a little for the month... and what is better than a heart garland?  I'm always a fan of the paper heart doilies that come out around this time of year and with the help of some baker's twine... voila! A heart garland was born.
So sweet and simple... my kind of Valentine's Day decor.  

Oh, and this Friday I will be sharing an update we made to our fireplace this past weekend... let's just say it doesn't quite look like these photos anymore...

Friday, January 31, 2014

DIY Friday: Painted Geometric Shape Canvas

Happy Friday, friends!  I thought I would give THIS Pinterest find a whirl this morning with a small canvas I had left over from another project.  It literally took 5 minutes, maybe less... the worst part for me was not having any painters tape lying around the home.  But... washi tape came to the rescue!  

DIY Instructions:  You'll need one canvas the size of your liking, one tube of crafters paint the color of your liking (I used an acrylic paint in a gold tone), one foam brush, and some painters tape.  Apply the tape to the canvas in the pattern/shape you desire and then paint away.  

Pretty quick and painless... the perfect project to start the weekend off right. 

Saturday, January 18, 2014

{DIY} Chevron Burlap Ribbon Garland

I am pretty obsessed with burlap... and chevron prints (when not overdone).  So when I found burlap ribbon with red chevron stripes I immediately snatched it up for our Christmas tree ribbon this year.  And when I when I found this burlap ribbon with a blue chevron stripe, I thought it would be the perfect addition to my winter decor... you know, the time after Christmas before you decorate for Valentine's Day.  

So, pair all of this with my love for garlands... and ta-da! Here is my take on a chevron burlap ribbon garland.  Pretty simple, the only material I purchased was the burlap ribbon.  I already had the jute string, fabric scissors, and yarn needle.  

I ended up cutting the ribbon in half to make a longer, thinner garland.  I cut the jute string to my desired length and tied a knot at the opposite end from the needle.  Then, I simply sewed the jute string through the middle of the burlap ribbon accordion-style approximately two inches or so between stitches.  

Not joking when I say easy, friends.  I think this project took me less than 10 minutes.  I am pretty pleased with how it turned out.  This may end up being a decor staple in our home for awhile.  

Friday, December 20, 2013

{DIY Christmas Decor} Tree Branch + Ornaments

While I usually do a pretty good job of decking our home for Christmas, I always seem to struggle in the kitchen.  So, with a few left over shatterproof ornaments and a tree branch found in our backyard, I found a way to bring a little holiday cheer to this room.

---> To recreate this look, you will need the following: tree branch the length of your choosing, jute/hemp rope, two thumbtacks, and a few ornaments.  Simply cut the jute/hemp rope, wrap it a few times around your branch and secure to the ceiling with a thumb tack at both ends.  Hang your ornaments as you like along the branch.  

Pretty easy - I think this project took less than 5 minutes to create.  And the best part?  It was free.  Everything I used I already had around my home.  However, if you needed to buy a few pieces to complete the look, it shouldn't cost very much.  Enjoy!    

Thursday, January 24, 2013

Lucky number 13.

If you ask the hubs, I may have a sickness.  And he might just be right.  But... is there anything better than a decorative basket?  I think not.

I found the one pictured above at JoAnns this last weekend for a steal.  It is now the proud holder of my little's toys, animals, and puzzles.  And if we were ever to get tired of the "Stuff" displayed on the front - have no fear.  We can easily turn this basket (or maybe linen bucket?) around; the seams are on the sides of this bad boy.  Oh, snap.

Oh... and if you were wondering, this basket marks number 13.  We now have 13 baskets... in the downstairs portion of our home.  There may be a few more upstairs.  A few...

Wednesday, January 9, 2013

Refreshing a Fish.

I am a little obsessed with housewares.  I love to find fun little ways to spruce up and decorate all of the different spaces in our home.  So, a few years ago when I received a porcelain fish for Christmas, I was pretty excited... until I pulled it completely out of the package to find that the tail had been broken during delivery (boo).  Luckily, the tail was still one complete piece... so putting it back to together was pretty easy.  

With a little super glue and some white paint, the fish looked better than ever:


I'm not gonna lie - I kind of prefer the white paint.  The fish looks crisper and fits in with our home so much better.  So I'm thinking the breaking of the tail was a little decorator blessing-in-disguise.

A close up:


Yep, pretty pleased with how it looks.  This is definitely one of my favorite decor pieces in our home today.

Friday, January 4, 2013

Keeping Christmas.


I was a little faster than usual at taking down our Christmas decorations in December.  Usually, I like to enjoy them until the new year... but this year, I opted to take them down two days after Christmas was officially over.  That is, all but my Christmas card display and a strand of pine cone ornaments.   

I feel like they should probably come down, but just can't bring myself to do it yet.  I still enjoy looking at each card we received this year and I feel the pine cones could be neutral enough to be considered a "winter" decoration...?

What are your thoughts?  How long is too long to keep up these two reminders of the Christmas holiday?